Build Your Confidence: Tools and Techniques for First-Time DIYers

Let’s make your first projects smooth, safe, and seriously satisfying. This beginner’s guide to essential DIY tools and techniques shows what to buy first, how to use each tool with confidence, and how to practice without fear. Expect practical checklists, friendly safety reminders, and clear steps you can try today. Ask questions, share progress photos, and subscribe for future tool tips and printable guides so your skills grow steadily with every cut, drill, and finish you complete.

Your First Toolbox, Without the Overwhelm

Skip the clutter and start with the core gear that handles eighty percent of beginner projects. We’ll focus on versatile, durable tools that fit well in hand, support safe technique, and help you finish with pride. You’ll learn what to buy now, what can wait, and how to keep everything accessible. We’ll also include quick practice drills that build muscle memory, so your confidence rises before you even start your first shelf, frame, planter, or repair.

Tape Measure Secrets You’ll Actually Use

Hook wiggle is intentional; it compensates for inside and outside measurements, so trust it. Learn to brace the tape edge with your thumbnail for steadier marks. Read sixteenths confidently using consistent reference points. Fold the tape carefully to mark equal divisions, then verify with a square. Practice measuring the same board twice with different methods and compare. These habits sharpen accuracy, reduce offcuts, and build the calm, repeatable precision that turns beginners into builders.

Squares and Levels: Your Portable Truth

A combination square sets depth, checks square, and guides marking lines perpendicular to edges. A torpedo level fits tight spots and helps align shelves, hooks, and frames. Start by verifying your square and level against known references to build trust. When hanging art, use painter’s tape to mark planned position, then confirm bubble center. These quick checks eliminate creeping errors that multiply across cuts and fasteners, ensuring your finished piece looks straight, feels solid, and delights.

Marking That Doesn’t Lie

Use sharp pencils, fine-tip markers, or a marking knife on wood for crisp, accurate lines. The thinner the mark, the clearer your cut path. Consider blue painter’s tape on dark or rough surfaces so marks pop without staining. Align the blade to the waste side of your line to preserve dimensions. Lightly strike a line, then confirm with your square again. Consistent, readable markings reduce guesswork, speed decisions, and help every edge meet cleanly without awkward gaps.

Cutting and Drilling with Confidence

Mastering controlled cuts and clean holes transforms wobbly ideas into sturdy results. We’ll demystify saw choices, explain when to pick a jigsaw over a handsaw, and show how bit selection changes everything. You’ll learn to support workpieces, prevent tear-out, and keep lines visible. We’ll also highlight simple drilling exercises that build muscle memory. Share your first straight-cut victories and questions below, and subscribe for printable bit charts and practice templates designed for quick, satisfying progress every weekend.

Fasteners, Anchors, and Reliable Joints

Strong connections come from matching the method to the material. Screws, nails, brads, wall anchors, and adhesives all shine in different situations. We’ll compare holding power, surface requirements, and installation techniques. You’ll practice sizing pilot holes, pre-countersinking, and choosing proper length for safe, flush results. Expect simple tests on scrap to feel differences. Share where you’ll use your new knowledge, and unlock downloadable quick-reference cards by subscribing for updates and future skill-boosting printable checklists and guides.

Screws That Bite and Don’t Split

Choose screws with the right thread for wood, metal, or masonry, and pick lengths around two-and-a-half times the thinner piece’s thickness. Drill pilot holes to reduce splitting, especially near edges and ends. Countersink when you want a flush head. Use quality driver bits to reduce cam-out. Keep a small assortment box labeled by size. Test on scrap to dial in clutch settings. These habits yield snug joints that stay tight, resist creep, and feel reassuringly solid.

Nails, Brads, and When a Hammer Still Wins

Nails excel where slight flex is helpful, like trim that moves with seasons. Brads hold delicately without splitting thin stock. A well-placed hammer tap can straighten misaligned boards and set fasteners without tearing fibers. Pre-set nails into the board and finish with controlled taps for a clean look. Use a nail set to sink heads slightly below the surface before filling. Knowing when to choose nails over screws keeps projects lighter, faster, and visually cleaner overall.

Wall Anchors That Actually Hold

Match anchors to wall type: plastic expansion for light loads in drywall, molly bolts for medium strength, and toggles for heavy shelves or mirrors. Locate studs with a reliable finder when possible, and pre-drill to size. Test pull strength on hidden areas if unsure. Always verify load ratings, and distribute weight across two points when practical. Careful anchor choices protect walls, preserve hardware, and prevent dramatic midweek crashes. Your future self and favorite frames will sincerely thank you.

Surface Prep and Finishes That Impress

Beautiful results come from patience before the first brushstroke. Proper sanding, dust management, and smart priming create an even, friendly surface that welcomes color or clear coats. You’ll practice sanding progressions, cleaning routines, and tape techniques that prevent bleed. We’ll compare paints, stains, and protective topcoats, then match each to common beginner projects. Post your before-and-after shots to inspire others, and join our list for step-by-step finishing checklists you can print and keep by your bench.

Sanding Like a Pro, Even by Hand

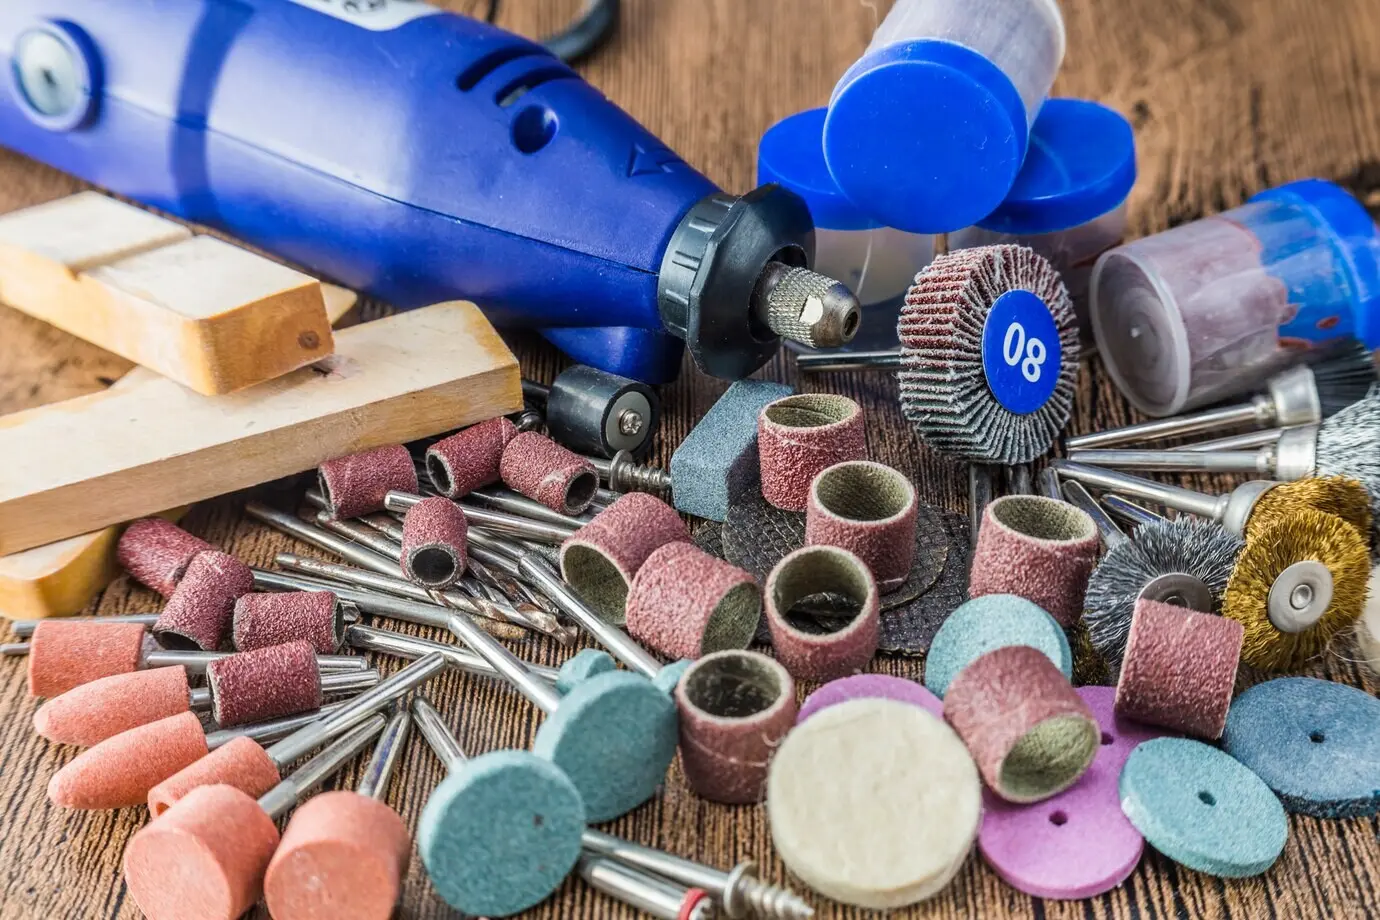
Work through grits in sequence, usually 80 to 120 to 180, removing previous scratches before moving on. Sand with the grain, and use a block to maintain flatness. Wipe with a damp cloth to raise fibers, then finish with a lighter pass. Vacuum dust from corners and pores, not just the surface. Cleanliness determines finish smoothness. Small, steady pressure beats heavy, hurried strokes every time. When the light rakes across a panel smoothly, you know you’re ready.

Primer: The Quiet Hero of Clean Lines

Primer seals porous surfaces, evens color, and boosts adhesion so topcoats glide and cover predictably. Spot-prime repairs to prevent flashing. Use a dedicated bonding primer on glossy or previously finished pieces to avoid peeling. Sand lightly after priming to knock down raised grain. Tape edges carefully and remove tape while paint is still slightly soft for crisp lines. This gentle, staged approach saves coats, reduces touch-ups, and delivers the kind of finish that looks intentionally professional.

Safety, Setup, and Care That Keep You Building

Skill grows fastest when safety and organization are routine. You’ll set up a comfortable workspace, protect eyes, ears, lungs, and hands, and build cleanup habits that preserve tools. We’ll cover extension cord management, good lighting, and stable support for awkward cuts. A quick end-of-day checklist prevents rust, mess, and lost parts. Share your workspace photos for feedback, ask questions about protection gear, and subscribe to receive printable maintenance logs and weekend-ready practice plans for steady progress.

Protecting Eyes, Ears, Lungs, and Fingers

Wear safety glasses any time tools move or materials snap. Use hearing protection during cutting or drilling to reduce fatigue and preserve focus. A good dust mask or respirator protects lungs while sanding and finishing. Gloves help with splintery lumber but remove them around spinning bits. Tie back hair, avoid loose sleeves, and keep a clear stance. Pause when distracted or rushed. Respect these basics and you’ll build more often, with fewer scares and steadier hands.

A Workspace That Invites Momentum

Good light, a stable surface, and clear floor space make every step easier. Add a scrap bin for test cuts and a small vacuum for quick resets. Store frequently used tools within arm’s reach and stage materials in order of use. Manage cords with hooks or retractors to avoid trip hazards. Keep a pencil, square, and tape measure at every station. A tidy, inviting setup reduces resistance, protects your focus, and turns short windows of time into real progress.

Pgwlw
Privacy Overview

This website uses cookies so that we can provide you with the best user experience possible. Cookie information is stored in your browser and performs functions such as recognising you when you return to our website and helping our team to understand which sections of the website you find most interesting and useful.